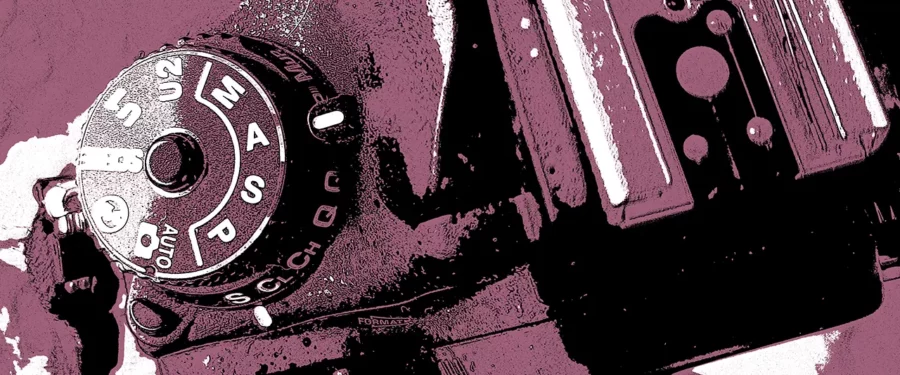
In the world of digital photography, understanding the different shooting modes your camera has and when to use each of them is extremely important. Program mode is a convenient option for beginners, but diving into more advanced shooting modes like Manual, Aperture Priority, and Shutter Priority can open up a realm of creative possibilities. In this comprehensive post, you will learn about each of these shooting modes, their unique benefits, and how to use them effectively to capture stunning photographs.
1. Manual Mode

Manual (M) mode gives you ultimate flexibility, letting you set the shutter speed, aperture and ISO. To use manual mode effectively, you need to have a good understanding of the exposure triangle, and how the combination of aperture, shutter speed and ISO combine to create the ideal exposure. It may not be a good fit for a lot of photo situations where your lighting changes often and you need to be able to shoot relatively quickly without worrying about changing numerous settings.
In challenging low-light conditions, Manual mode allows fine-tuning of both aperture and shutter speed to capture stunning nightscapes. Scenes with extreme contrasts between light and shadow require careful exposure control, which Manual mode offers. In the studio when you have complete control over lighting, Manual mode ensures consistent exposures throughout your session.
Benefits
- Provides complete creative control over exposure settings.
- Suitable for challenging lighting conditions, where the camera’s automatic modes might struggle.
- Ideal for photographers seeking to fine-tune settings for unique effects.
Tips for Using Manual Mode
- Master the exposure triangle: Understand how aperture, shutter speed, and ISO work together to achieve proper exposure.
- Use a light meter or the camera’s built-in metering system to gauge proper exposure, adjusting settings as needed.
- Bracket your shots by taking multiple images at varying exposure settings to ensure at least one perfectly exposed shot.
2. Aperture Priority Mode

Using Aperture Priority mode (A or Av), you choose the aperture you want to use, and your camera will set the shutter speed to get the exposure just right. With Aperture Priority mode, you will want to adjust your depth of field based on what kind of subject you are shooting. Are you taking a landscape photo? Then you’ll want to use a small aperture (large f-stop) to capture a deep depth of field. If you’re shooting a portrait, you may want to use a larger aperture (small f-stop) to make your subject more prominent, and stand out from the background. With some practice, you’ll have a good understanding of aperture, and know when to use either a small (large f-stop) or large (small f-stop) one to get quality results shooting various subjects.
With wide apertures (small f-stops) in portrait photography, Aperture Priority lets you create stunning background blur, which draws attention to your subjects. This also applies to macro photography, when you want to isolate your subject from the background. Using Aperture Priority, you can try out different apertures and compositions, effectively guiding the viewers’ eyes where you want them to go.
Benefits
- Allows for intentional control over depth of field, enabling you to isolate subjects from their backgrounds.
- Ideal for portraiture (using wide apertures for creamy backgrounds) and landscape photography (using small apertures for front-to-back sharpness).
- Well-suited for scenarios where controlling motion blur is not the primary concern.
Tips for Using Aperture Priority Mode
- Use wide apertures (small f-stops) for a shallow depth of field, suitable for portraits and close-ups.
- Opt for narrow apertures (large f-stops) to achieve greater depth of field, perfect for landscapes and architecture photography.
- Keep an eye on the camera’s chosen shutter speed to avoid excessive motion blur in low-light situations. To mitigate this risk, you can always bump up the ISO.
3. Shutter Priority Mode

In Shutter Priority mode (S or TV), you select the shutter speed you want to use, and your camera matches that with the proper aperture to expose the image correctly. This mode is particularly useful when you need to manage motion in your shots, whether you want to freeze fast-moving subjects or capture motion blur deliberately.
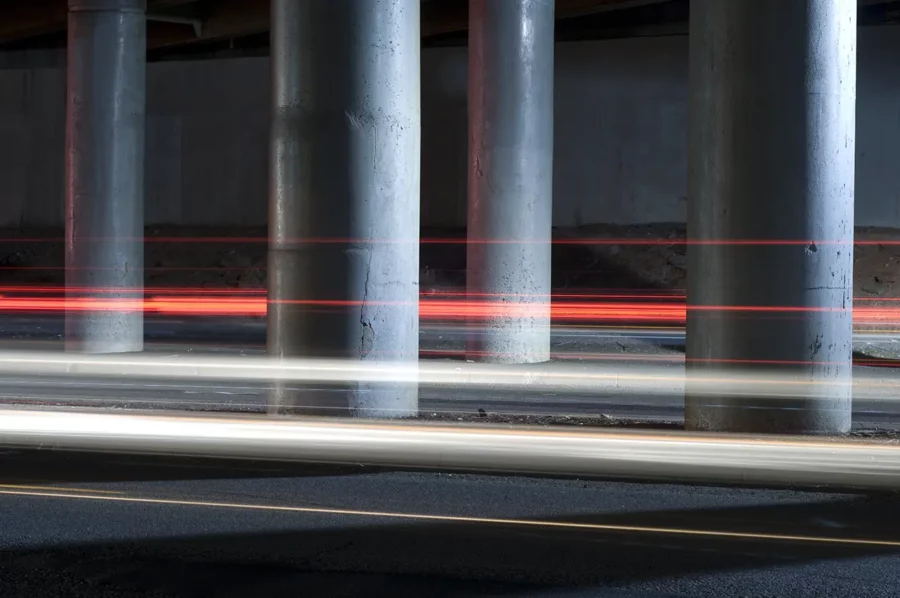
In sports or any type of action photography, you can select a specific shutter speed and the camera will match it with the correct aperture to get the proper exposure. This is nice when you want to freeze or pan with certain subjects (e.g. a passing car or cyclist for example) within the frame or create intentional blur to show motion or for creative effect. Shutter Priority is also a good choice for long exposure photography as it lets you achieve dramatic effects like light trails or silky smooth water by selecting slower shutter speeds.
Benefits
- Offers control over motion blur, allowing you to freeze action or create a sense of movement.
- Great for sports, wildlife, and street photography where subjects are in motion.
- Simplifies settings for scenarios where controlling depth of field isn’t the primary concern.
Tips for Using Shutter Priority Mode
- Select faster shutter speeds (1/500 or faster) to freeze fast-moving subjects like sports or wildlife.
- Opt for slower shutter speeds (1/30 or slower) to capture intentional motion blur, such as flowing water or moving vehicles.
- Be mindful of your camera’s chosen aperture to ensure proper exposure, especially in changing lighting conditions.
4. Program Mode

With Program mode (P), your camera sets the shutter speed and aperture to achieve an optimal exposure. It is somewhat similar to full auto mode, but gives you more control by letting you adjust the aperture, as well as the ISO. With programmed auto mode, you have more flexibility than you do with full auto mode, but less than with manual, aperture priority and shutter priority modes. It is ideal for snapshots and situations where you have little time to adjust your camera’s settings, but want more flexibility than full auto mode provides.
When you’re capturing spontaneous moments and must react quickly, Program mode lets you capture well-exposed shots without messing with any settings. It is also a great choice in fast-paced travel situations as it lets you focus on composition and framing while the camera handles the rest. If you are taking photos in conditions where the light is constantly changing, Program mode’s adaptable exposure compensation will ensure that your photos come out properly exposed every time.
Benefits
- Quick and user-friendly for capturing spontaneous moments.
- Ideal for beginners transitioning from automatic mode to manual settings.
- Balances exposure settings for well-lit images.
Tips for Using Program Mode
- Use exposure compensation to adjust the camera’s automatic exposure settings. Dial in positive values for brighter images and negative values for darker ones.
- Utilize the Program Shift feature (if available) to shift between different aperture and shutter speed combinations while maintaining the same exposure value.
How to Transition from Auto to Manual Modes
Shifting from automatic modes to manual can be intimidating but immensely rewarding.
Follow these steps to make the transition smoother:
Step 1: Understand the Basics
- Learn about the exposure triangle – how aperture, shutter speed, and ISO interact to determine exposure.
- Familiarize yourself with your camera’s controls and where to adjust these settings.
Step 2: Start with Semi-Automatic Modes
- Begin with Aperture Priority or Shutter Priority modes to ease into manual control while focusing on specific aspects of exposure.
Step 3: Experiment and Review
- Take multiple shots of the same scene using different settings to see the impact on the final image.
- Review your shots and analyze what worked and what didn’t. This practical experience will be your best teacher.
Step 4: Master Manual Mode
- Gradually move to full Manual mode as you gain confidence.
- Use a light meter or the camera’s built-in meter to ensure proper exposure.
Fine-Tuning with Histograms
Histograms are visual representations of the tonal distribution in an image. They can be extremely useful in all shooting modes to ensure accurate exposures.
- Histogram Basics: A histogram graph displays shadows on the left, highlights on the right, and mid-tones in the middle. A well-distributed histogram indicates a balanced exposure.
- Using Histograms in Manual Mode: While capturing images in Manual mode, refer to the histogram to avoid overexposed (clipped highlights) or underexposed (clipped shadows) areas.
Advanced Techniques in Manual Mode
Once you’re comfortable with Manual mode basics, try these advanced techniques:
- Bracketing: Capture multiple shots of the same scene with different exposures (underexposed, correctly exposed, overexposed) for post-processing flexibility.
- Focus Stacking: Take multiple shots at different focus points and blend them in post-processing to achieve a larger depth of field.
Conclusion
Mastering the various shooting modes – Manual, Aperture Priority, Shutter Priority, and Program – will help you turn your creative visions into captivating images. For complete creative autonomy, Manual mode stands as the ultimate choice. Aperture Priority and Shutter Priority modes specialize in depth of field and motion management, while Program mode offers a blend of automation and control. As you explore these shooting modes, remember that practice is key. Experiment with different settings, lighting conditions, and subjects to truly unlock the potential of your digital camera and capture images that tell your unique story.

