In this post, you will learn how to import your MetaMask software wallet to a Ledger hardware wallet, step-by-step. Once you’ve successfully imported your seed phrase and crypto wallet to your Ledger, you will set up a fresh dummy MetaMask wallet that can be used for small transactions, but where you WILL NOT store a lot of cryptocurrency or NFTs. Finally, you will learn how to connect your Ledger to your new MetaMask account.
PLEASE NOTE: Importing your MetaMask hot wallet to a Ledger cold wallet is NOT the safest option, and your best bet is to transfer your prized NFTs and shitcoins to a dedicated hardware wallet (that has never had its seed phrase connected to the internet). That being said, importing your MetaMask wallet to Ledger does add a layer of protection by removing your seed phrase from your computer. As long as your seed phrase was never exposed, you should be all right.
IMPORTANT: NEVER EVER EVER share your seed phrase with ANYONE! There are countless scammers in the crypto space, and they’ll constantly try to get their hands on your seed phrase. If they do, you can KISS ALL YOUR CRYPTO ASSETS GOODBYE!
ALSO IMPORTANT: NEVER EVER EVER keep your seed phrase stored on your computer – don’t save it in a doc on Google Drive, don’t take a picture of it with your smartphone. Write it down in a couple notebooks and keep them in two different places (e.g. a safety deposit box and a fireproof safe).
Continue reading below to learn how to import your MetaMask to a Ledger, step-by-step. Let’s get started.
Take a look at my 1/1 photo NFTs on Foundation & collections on OpenSea below.
Unique variety of 1/1 Photo NFTs
A unique variety of bold 1/1 photo NFTs not adhering to a single theme.
Doors of Old Town in Warsaw, Poland
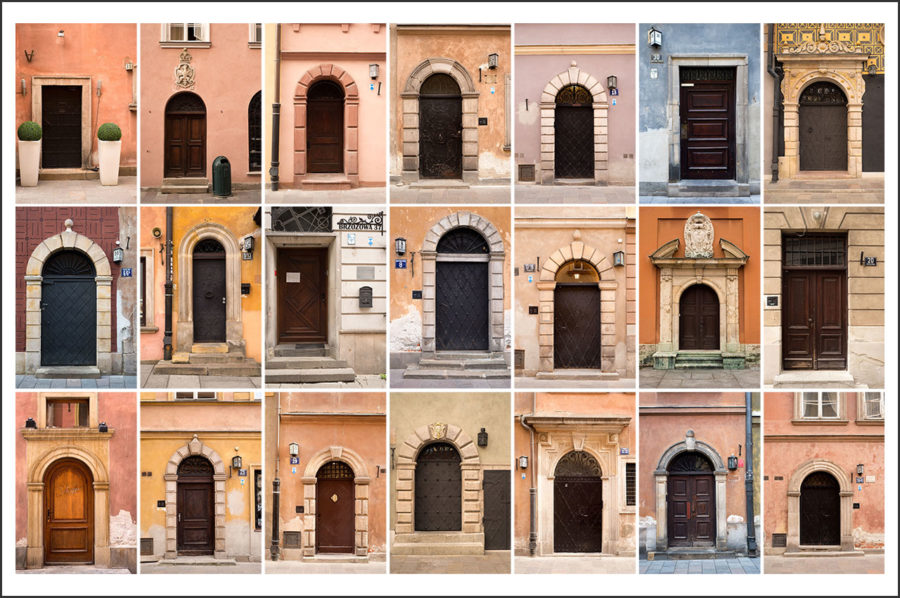
A collection of 30 1/1 photo NFTs featuring a variety of doors throughout Old Town in Warsaw, Poland.
Slava Ukraini! Heroiam slava!

A collection of 50 photo NFTs of Kyiv. 100% of primary sale proceeds will be donated to help support Ukraine and Ukrainian refugees.
Table Of Contents
Set up your Ledger hardware wallet
Order Ledger – When you order your ledger, make sure you do it from their official online shop. DO NOT get it from Amazon, eBay or any other place. Like I said above, scammers are relentless – they even sell altered hardware wallets that enable them to to grab your seed phrase and steal all your crypto assets.
Install Ledger Live – Once you’ve received your ledger device, you’ll need to download and install the Ledger Live software.

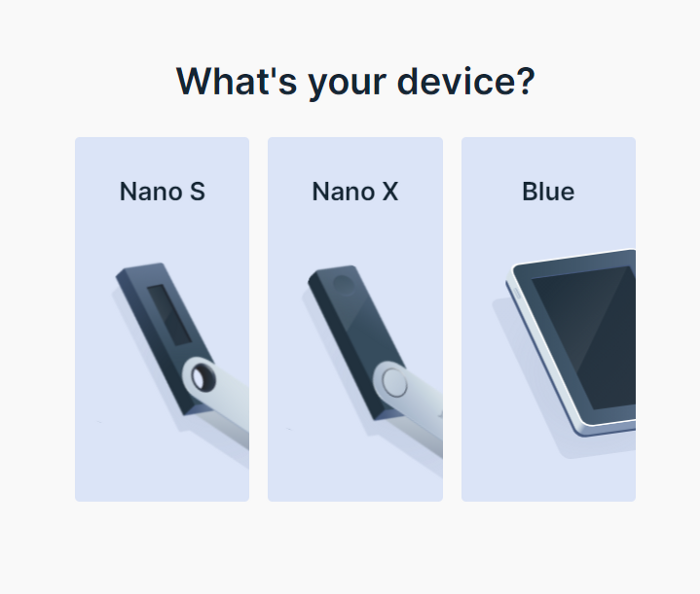
Next, you’ll need to select which Ledger device you’re setting up – Nano S, Nano X or Blue.
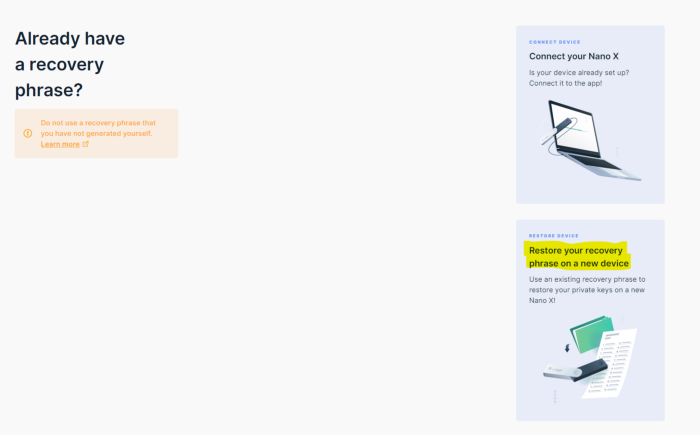
We will be importing an existing seed phrase so select Restore your recovery phrase on a new device.
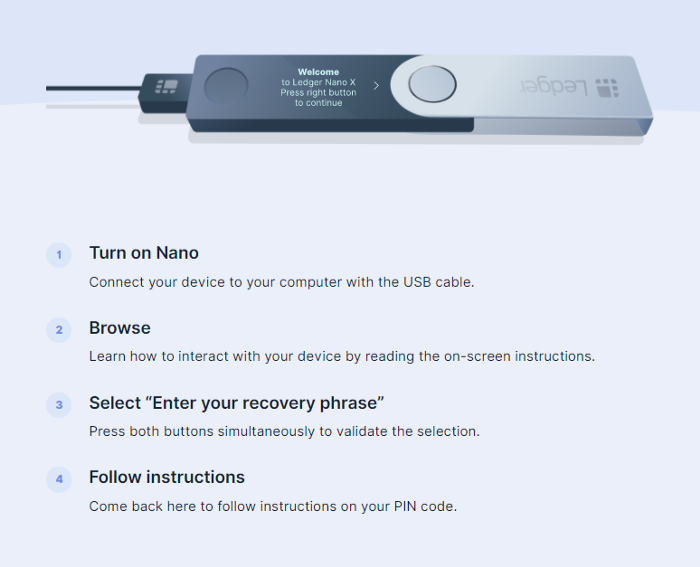
Connect your device to your computer with the USB cable.
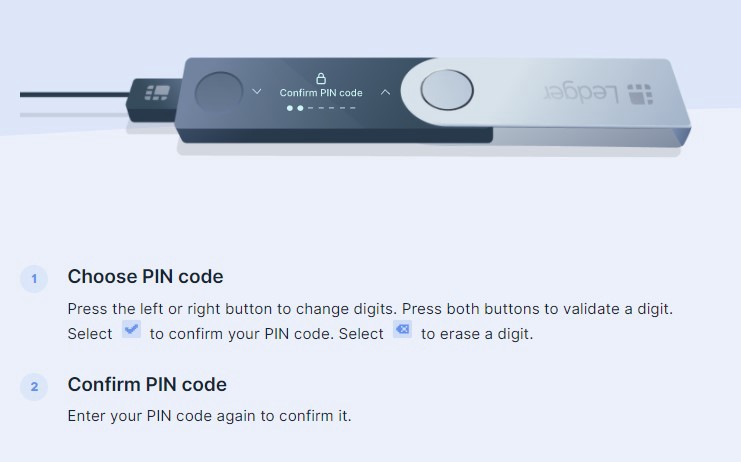
Now, you will be guided through the process of setting a PIN code on your Ledger. You can choose from 4 to 8 digits, and obviously a longer PIN is better. You’ll have to enter your PIN 2 times to confirm it.
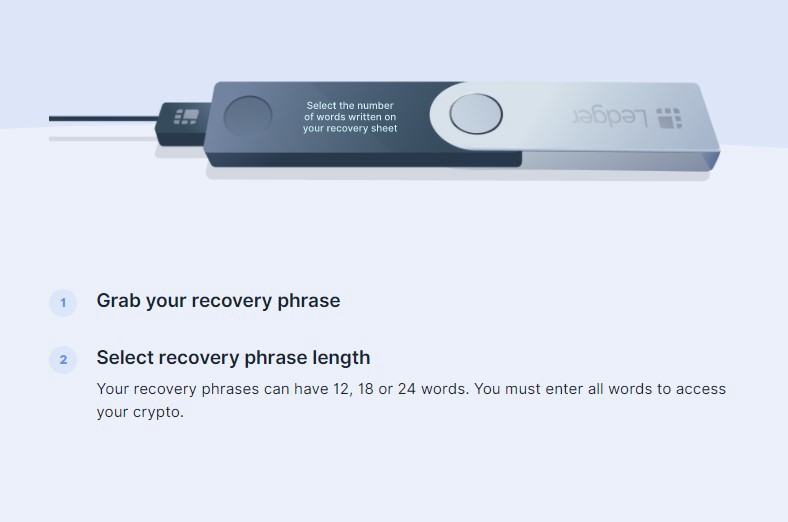
Now, you are ready to import your seed phrase into your Ledger. Hopefully, you have your seed phrase written down on a piece of paper. If not, you’ll need to reveal it from within Metamask. Every time you do this, you’re at risk of exposing it unknowingly if you have a virus or malware on your computer. For this reason, it’s wise to do this offline and only after running an antivirus scan.
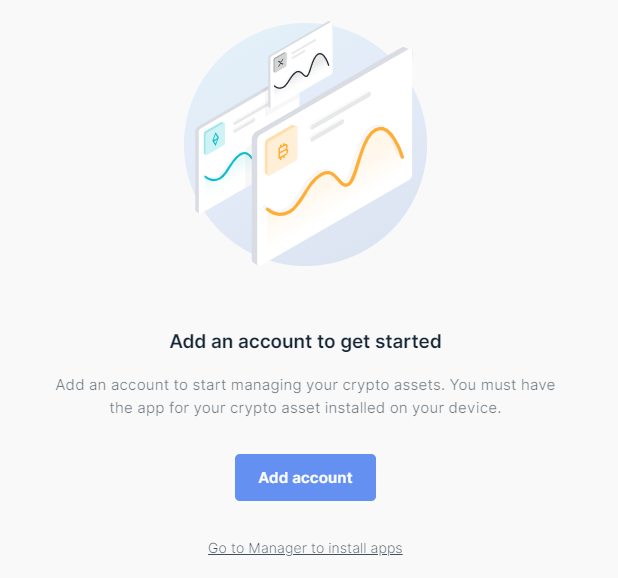
Once you have successfully imported your seed phrase and set up your device, you’re now ready to proceed with getting your Ledger Live account created. First, click the Add account button.
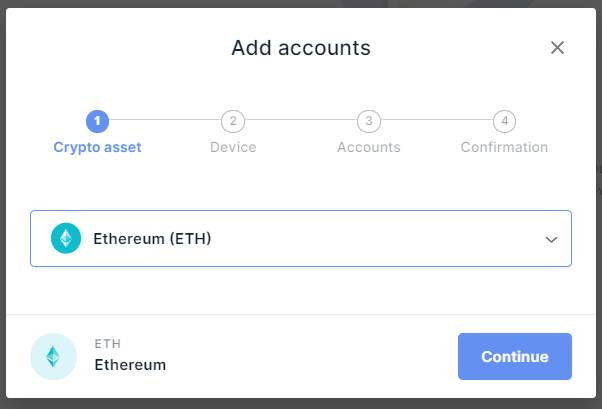
Next, select Ethereum (ETH) from the dropdown menu and hit Continue.
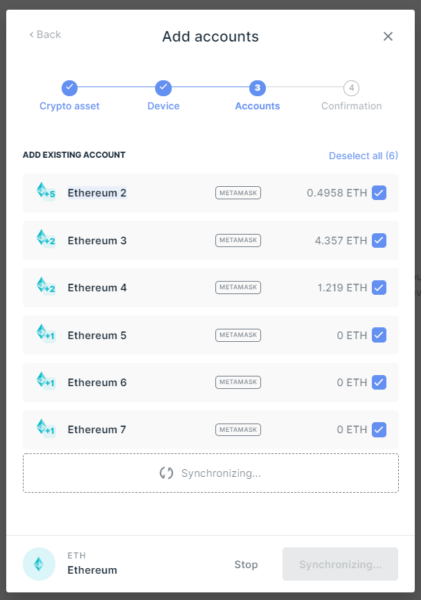
Ledger Live will start pulling in your existing accounts that you had in MetaMask.
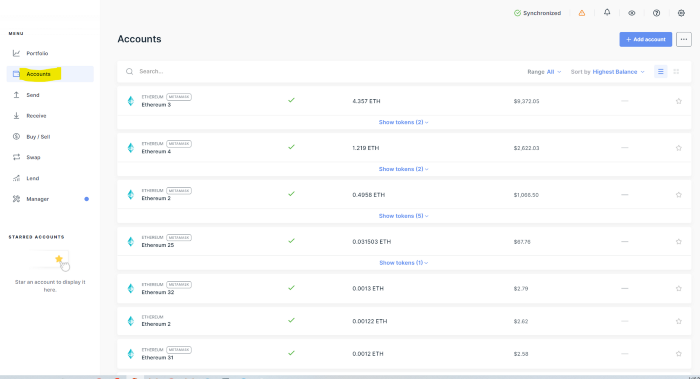
Once Ledger Live is done synchronizing, you should see all of your ETH wallets by clicking Accounts in the left sidebar.
Now that you’ve successfully imported your seed phrase into your Ledger device, you’re ready to remove your old MetaMask wallet and install a new one that you will use to integrate with and connect to your Ledger.
Set up a fresh MetaMask wallet
The next step is to set up a fresh MetaMask wallet that you will use to connect to your Ledger. This will be a hot wallet that you can use for small transactions if need be. IMPORTANT: If you fail to remove your old seed phrase from your computer and MetaMask, you will be no safer than before.
1. First, you will need to remove your existing MetaMask browser extension. Since you already moved your seed phrase to your Ledger, you surely already have it written down somewhere. Delete the MetaMask browser extension from your browser.
2. Clear your browser cache, close your browser and restart your computer. This is just to make sure you’re starting fresh. If you
3. Head over to the official MetaMask website, then download and install the browser extension. Always make sure you’re downloading from the official site. There are countless scammers in this space, and you must STAY VIGILANT.
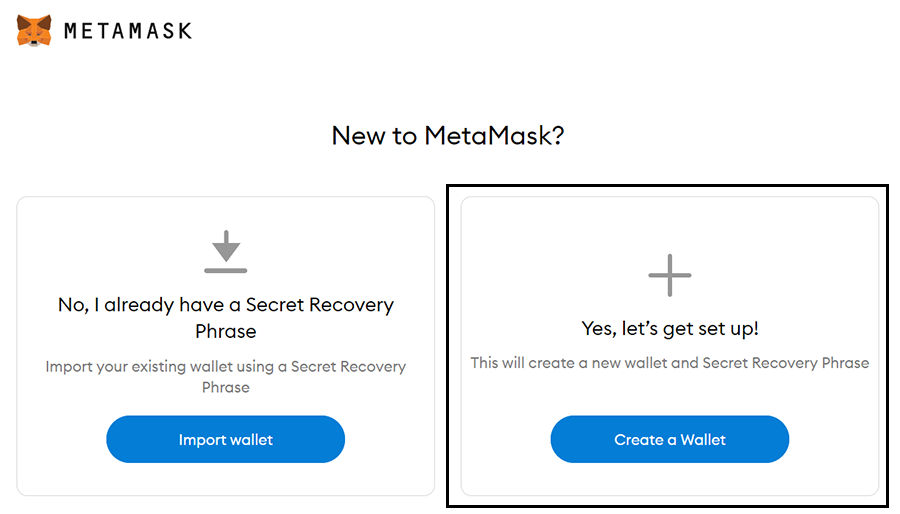
4. Create a brand new MetaMask wallet. Make sure that you choose Create a Wallet on the right-hand side to create a brand new wallet.
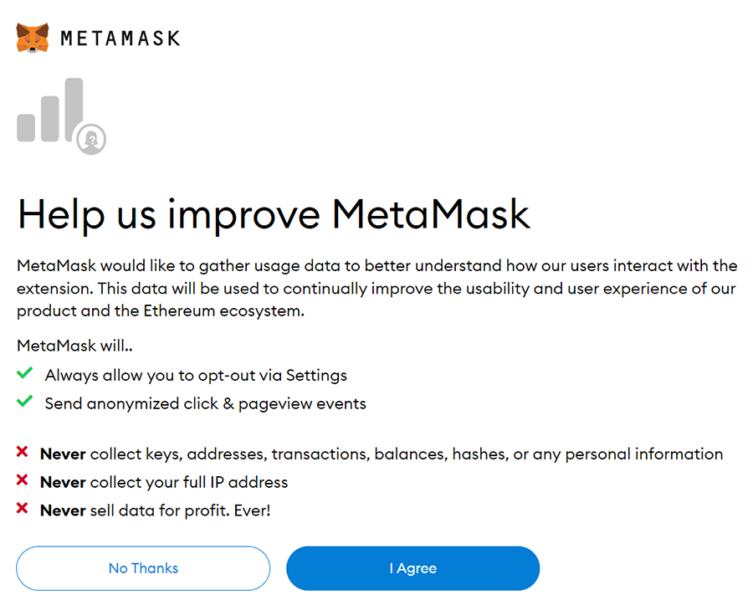
On the next screen, you can choose whether you want to allow MetaMask to collect usage data or not. I generally let them, as it helps them improve their product.
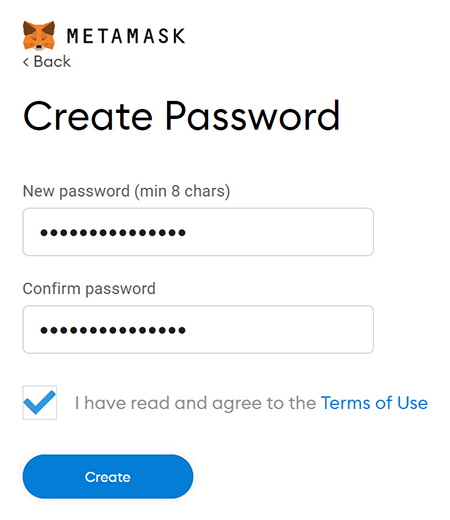
5. Create a strong password and confirm it. Check the box indicating that you’ve read and agreed to the Terms of Use. Then, click the Create button.
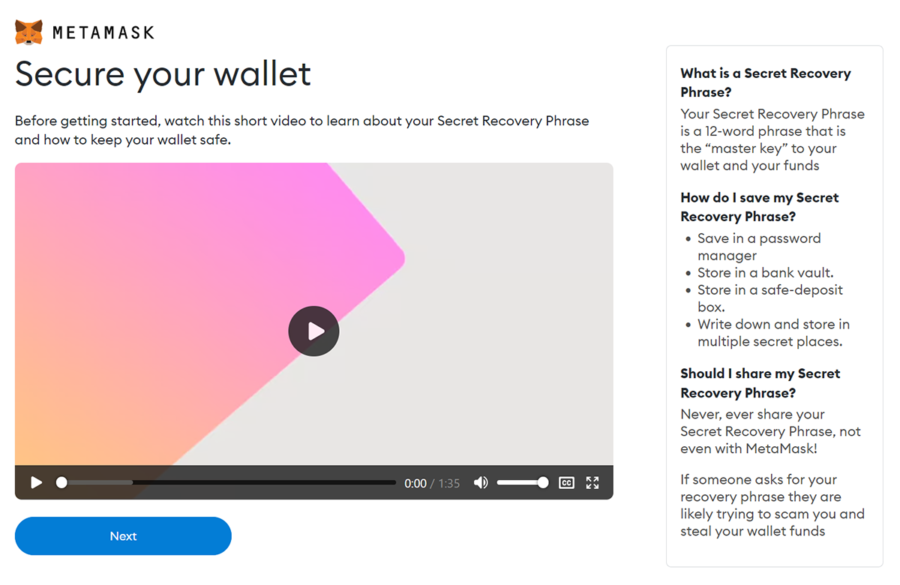
On the next screen, you can watch a video and read some tips to help keep your MetaMask wallet safe.
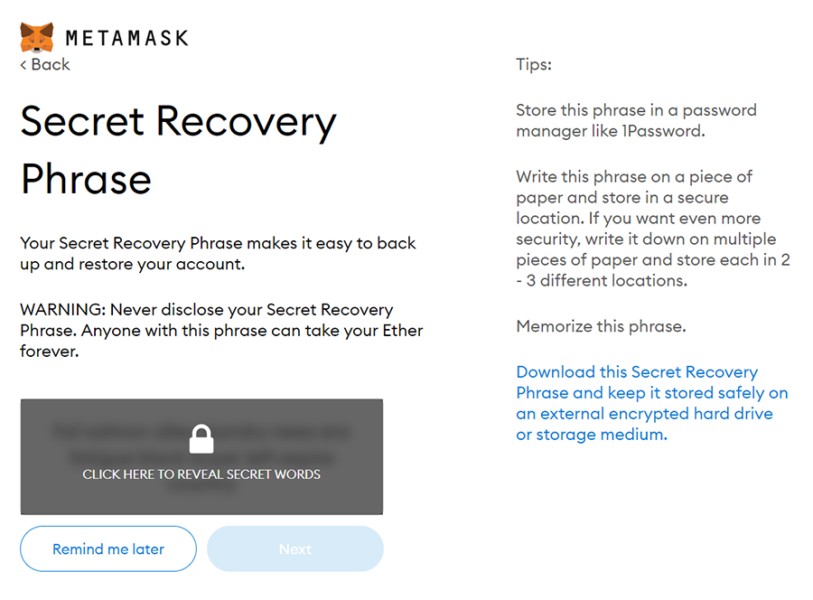
6. Next, you will click on the grey box to reveal your seed phrase (also referred to as Secret Recovery Phrase). Write these words down on a piece of paper, NOT on your computer, table to smartphone. It’s best if you have a couple offline copies that you store in different, secure places (e.g. a safety deposit box or fireproof safe). Once you’ve written it down, click the Next button.
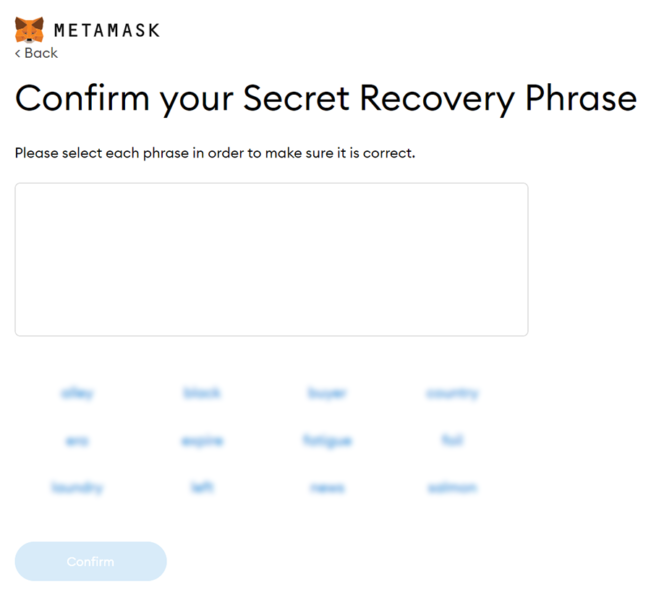
7. On the next screen, you will need to confirm your Secret Recovery Phrase by clicking on the words in the proper order. Once you’re done, click the Confirm button.
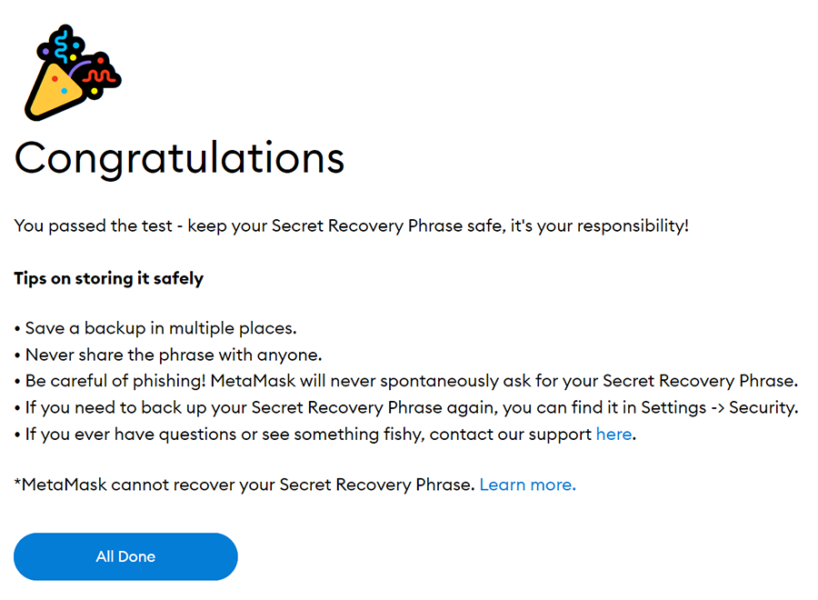
Your new MetaMask wallet is now set up, and ready to be integrated with your Ledger hardward crypto wallet.
Connect Ledger to MetaMask
After the Congratulations screen above, you’ll be redirected to your MetaMask wallet. Here are the steps to connect your Ledger to your new MetaMask account.
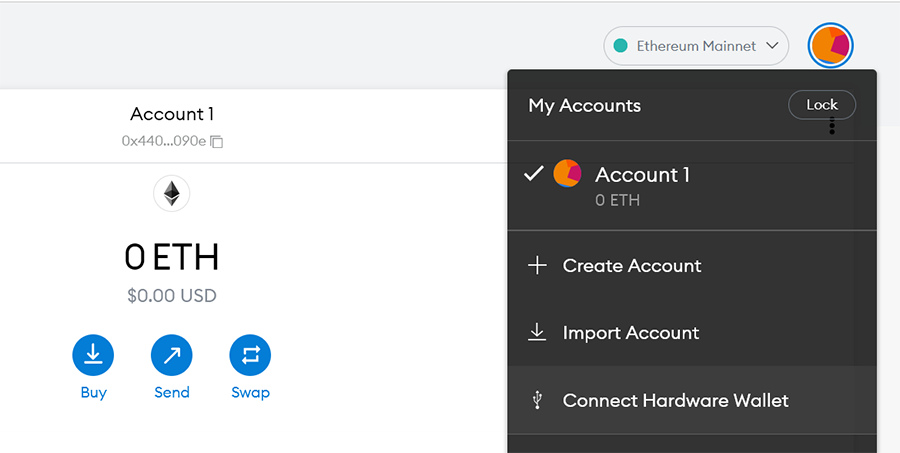
1. Click the colorful round profile icon at the top right. Then, select Connect Hardware Wallet from the dropdown.
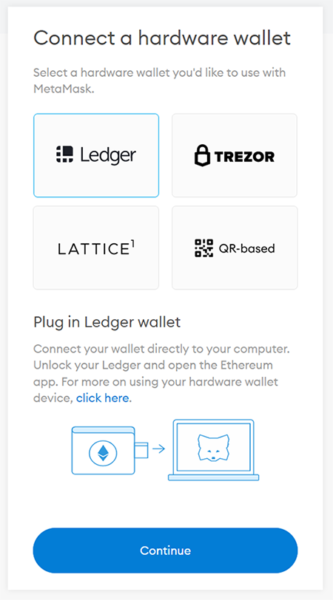
2. Then, choose Ledger and click the Continue button.
3. Connect your Ledger, and enter your PIN. Then, open up the Ethereum app on your Ledger. Next, you will see a popup in your browser bar. Highlight your device and click the Connect button.
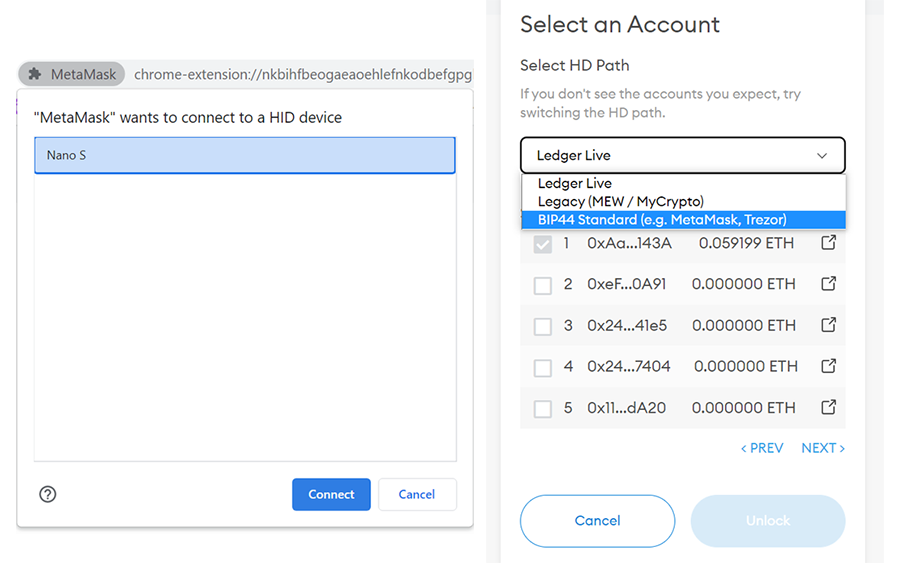
4. On the next screen, select BIP44 Standard (e.g. MetaMask, Trezor) from the dropdown, select the wallet address you want to connect with and click the Unlock button. Now, your Ledger is successfully connected to MetaMask and will be visible in its interface.
5. In order to approve transactions with your Ledger, you will need to enable Blind Signing (also called Contract Data) on your Ledger device within the Ethereum application.
To do so, follow these steps:
- Connect and unlock your Ledger device with the PIN you created.
- Open up the Ethereum application.
- Press the right button and navigate to Settings. Once there, press both buttons and press the right button until you reach the Blind Signing settings. Again, press both buttons to allow contract data in transactions.
- If done correctly, the device will now show Allowed.
* Note: Every time the Ethereum app or firmware is updated or reinstalled, the Blind Signing will automatically reset to Not Allowed.
Considerations
The dummy MetaMask wallet you created can serve as a hot wallet where you store minimal funds that you can use for small transactions. Also, instead of connecting your newly-moved crypto wallet on your Ledger to websites that you may not be 100% sure of, you can use the dummy hot wallet instead.
As I mentioned in the introduction, importing your MetaMask wallet into a Ledger hardware wallet is NOT THE SAFEST OPTION in regards to storing your crypto assets. Since that crypto wallet was once connected to the internet and its seed phrase stored in your browser, there is a chance that it was compromised at some point.
If you’re generally pretty smart when it comes to your internet behavior (e.g. you don’t visit or connect your wallet to weird websites, click on random links in your DMs or do other stupid stuff), you should be all right. Generally, if someone had access to your seed phrase, they’d likely steal your assets immediately.
Conclusion
The best way to store valuable NFTs and crypto funds is to use a fresh Ledger and simply transfer everything to it. If you set up a MetaMask hot wallet and collected a bunch of NFTs and cryptocurrencies, moving everything could be quite costly (anywhere from $10 to $30 or more per item depending on ETH gas at the time).
With all the above being said, importing an existing MetaMask hot wallet to a Ledger is SAFER than keeping everything in a browser-based hot wallet. Hopefully, this tutorial has shown you how to import your MetaMask hot wallet to a Ledger hardware crypto wallet.
If you have any questions or something to add, please leave a comment below or connect with me on twitter.
Can I import multiple metamask accounts to the same ledger wallet.
Hi there. Only if all of those metamask accounts are associated with a single seed phrase.